 We were delighted to see trees, water, and, yes, even snow on our visit to Mount Lemmon today. About an hour north of Tucson, the Catalina Highway winds 26 miles through Coronado National Forest, climbing about 6,000 feet up the Santa Catalina Mountains to the village of Summerhaven atop Mt. Lemmon at 9,100 feet. Ski Valley, the southernmost ski destination in the USA, was closed for lack of snow, but we enjoyed a chat with the caretaker who cheerfully filled us in. The big story was the Aspen Fire of 2003 which destroyed over 90% of the area’s buildings, leaving only 20 residents today compared to some 2000 before the fire. Touring with friends Terry and Sue is always fun, and pizza at The Cookie Cabin was great. You can see some of the pretty vistas in the 12-02-29 Mt Lemmon album.
Continuing my HDR experiment (see previous post), I made several images that, as seen in the side-by-side comparisons below, further convince me to get better at it. For someone who typically brings home fifty to two hundreds shots from a shoot, the prospect of multiplying that by 3 or 5 is not insignificant, making clear the tradeoff between HDR’s improved image quality and a bunch more hassle. So, my first step is simplification to raise the quotient enough for me to persevere through the learning curve. I’ll outline my workflow thoughts below, but first, let’s get to the payoff with a look at the images.
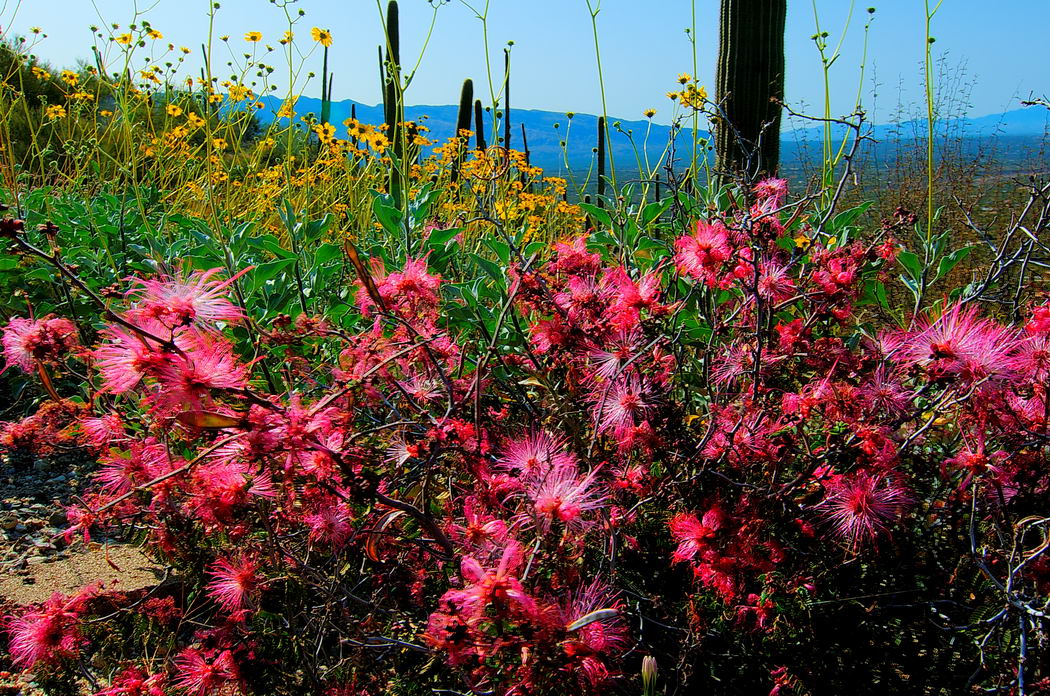 Mt. Lemmon 4 – HDR
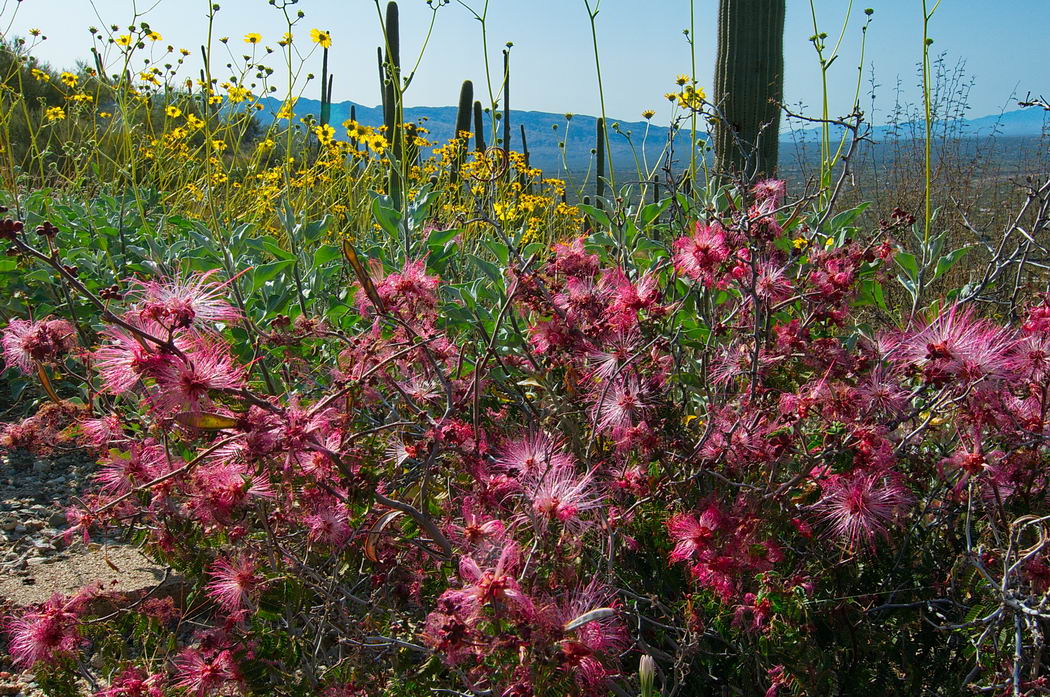 Mt. Lemmon 3 – Single
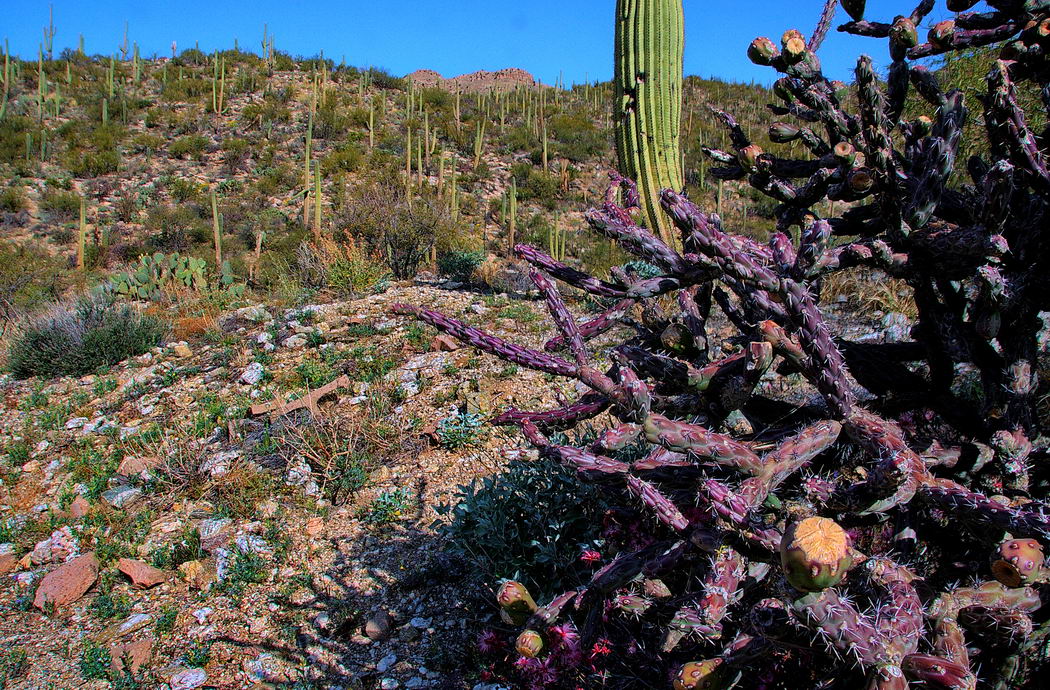 Mt. Lemmon 6 – HDR
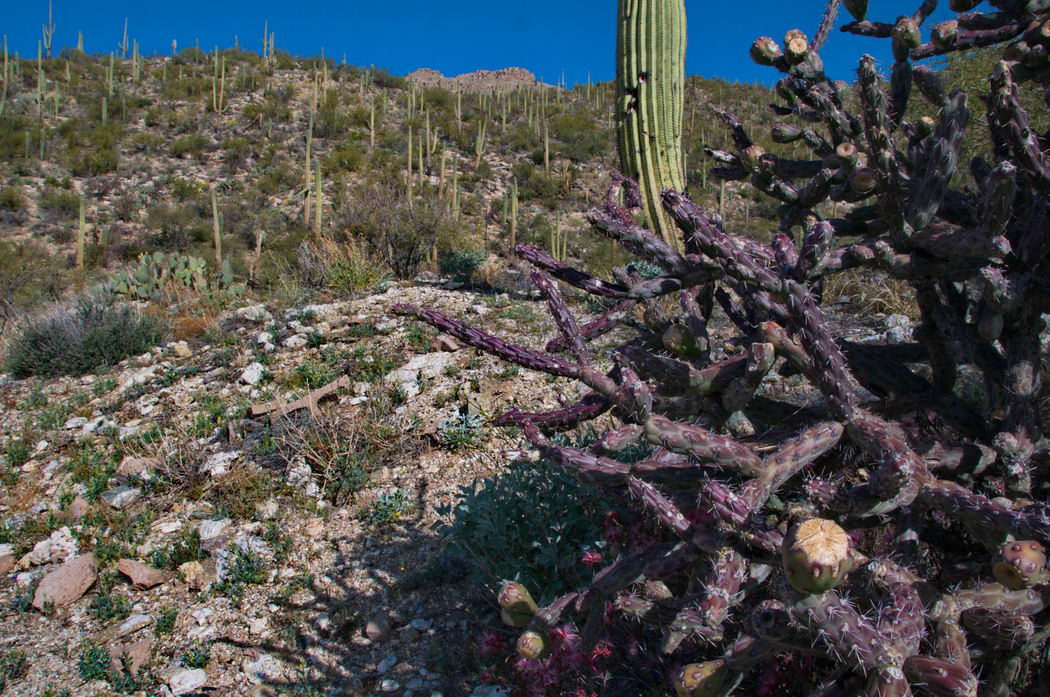 Mt. Lemmon 5 – Single
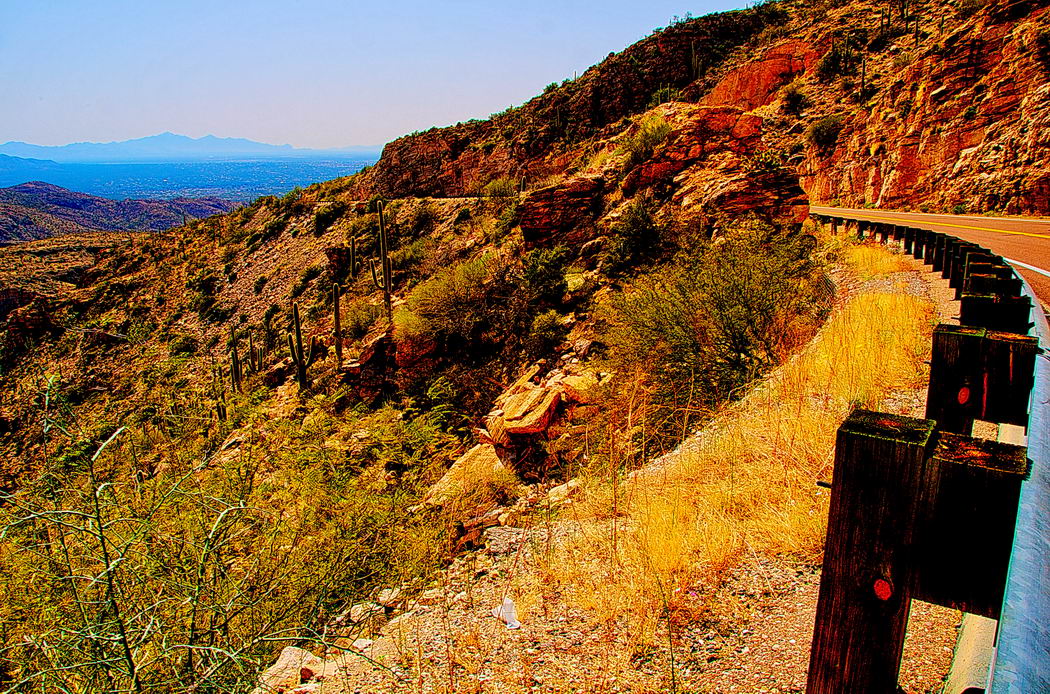 Mt. Lemmon 15 – HDR
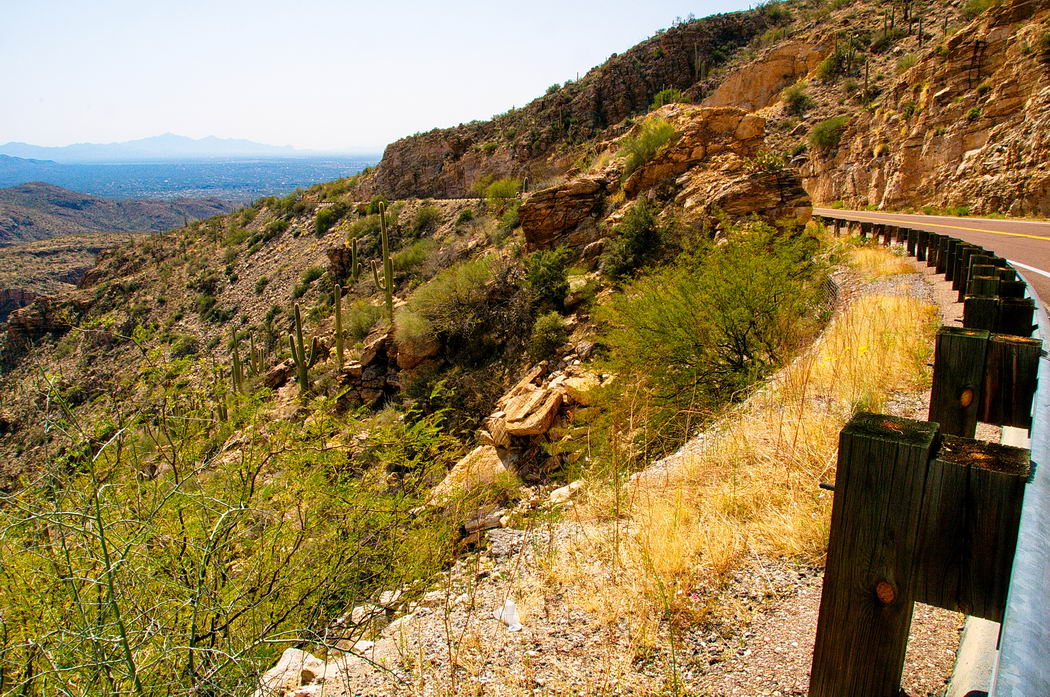 Mt. Lemmon 14 – Single
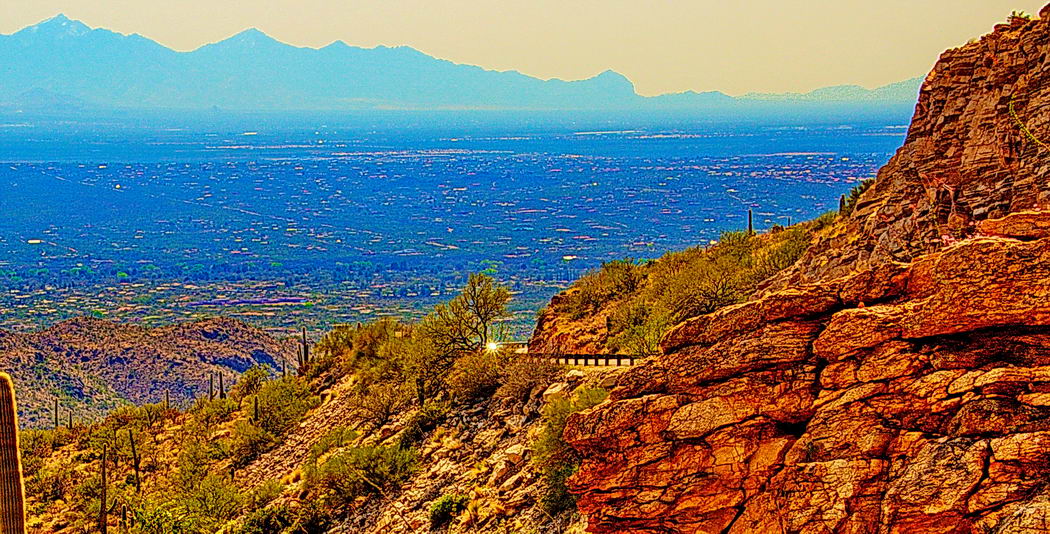 Mt. Lemmon 17 – HDR
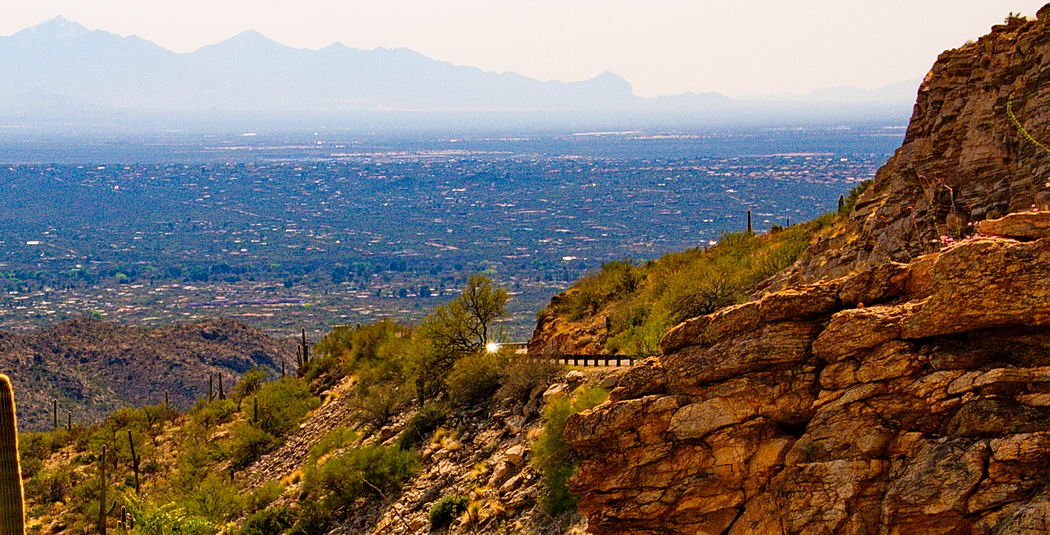 Mt. Lemmon 16 – Single
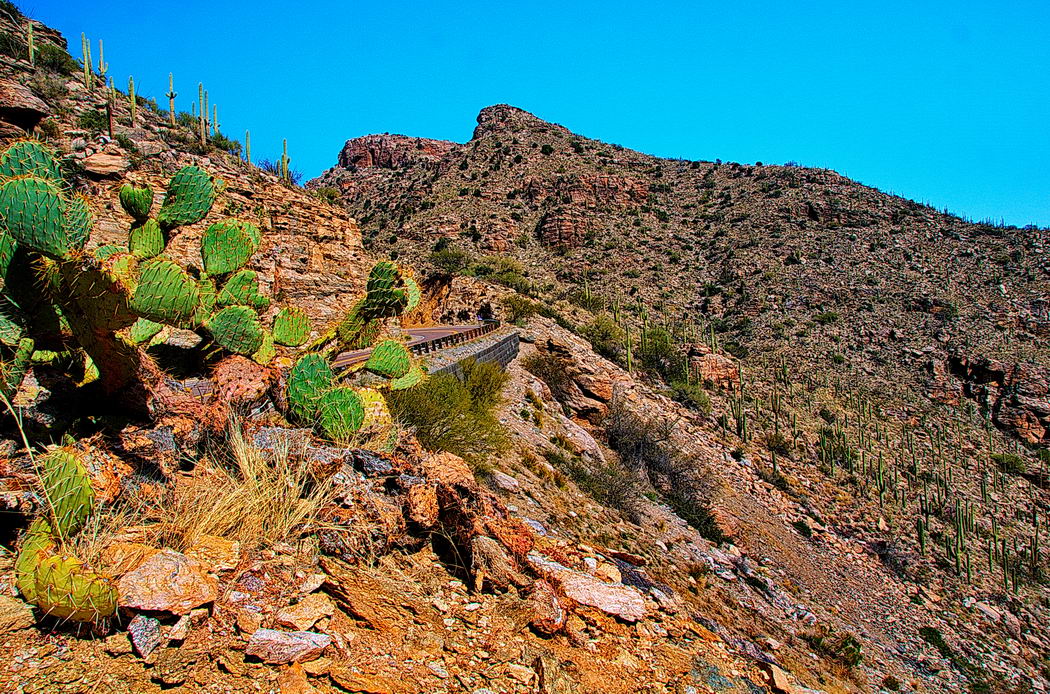 Mt. Lemmon 19 – HDR
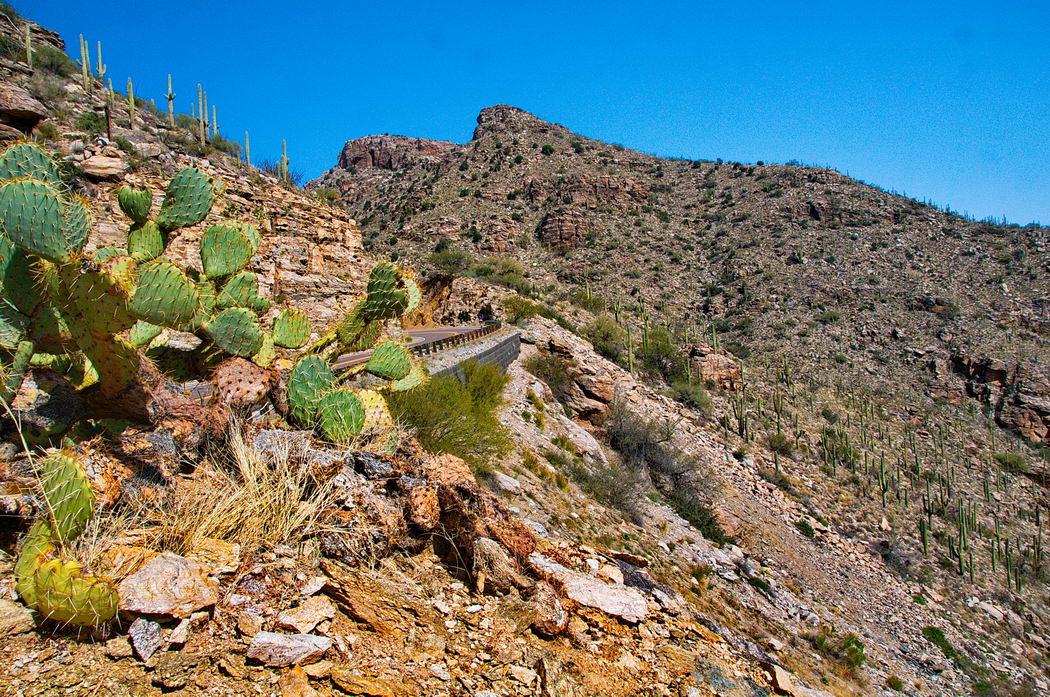 Mt. Lemmon 18 – Single
 Mt. Lemmon 21 – HDR
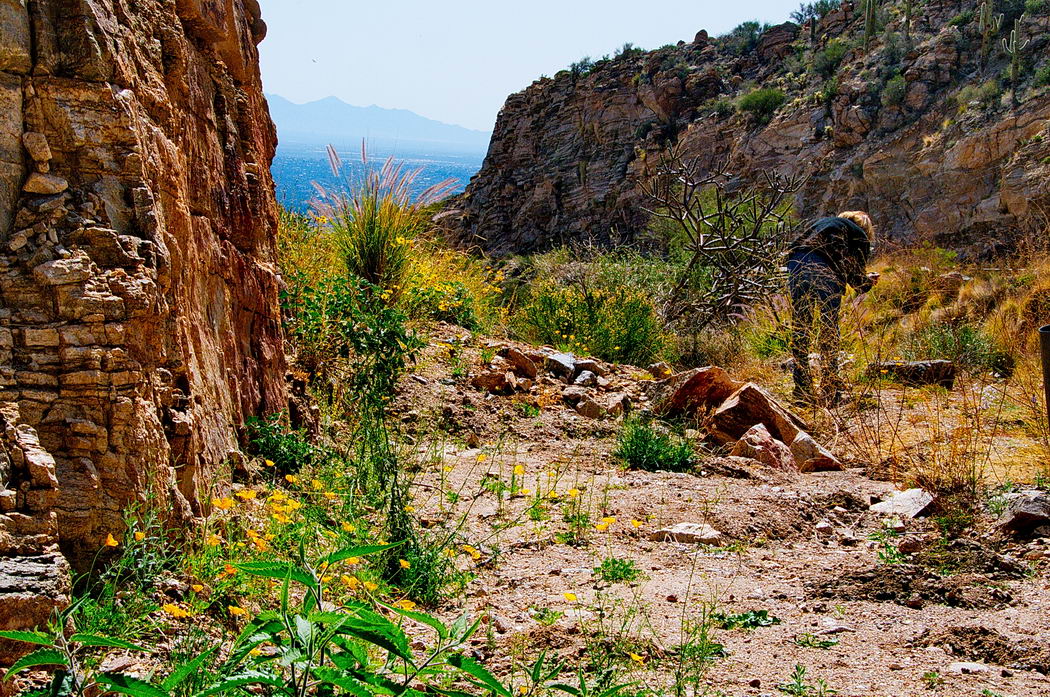 Mt. Lemmon 20 – Single
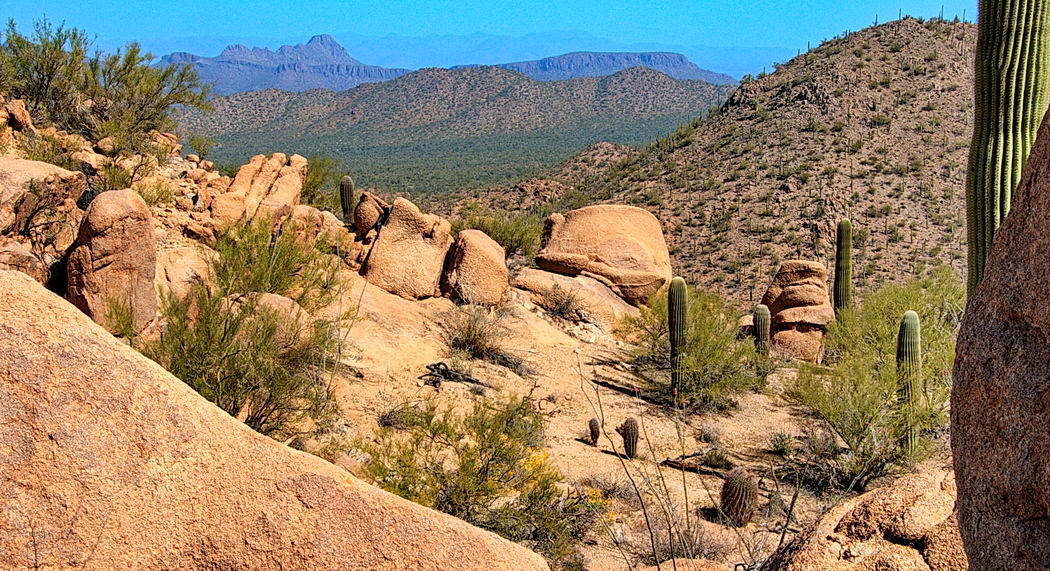 Hugh Norris Trail 25 – HDR
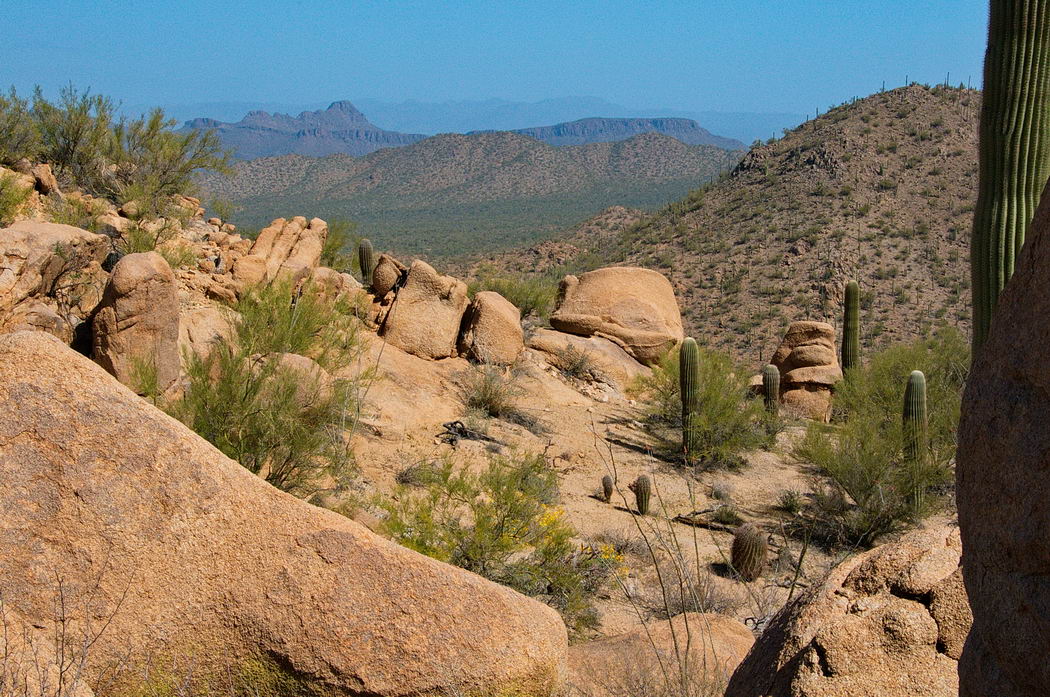 Hugh Norris Trail 26 – Single
By clicking on a thumbnail to see a larger version and using the < and > in the bottom corners of the overlay, you can easily compare the results of an HDR series with that of the single image, and read my comments as well. In each case, I’ve done my post-processing to create the best image possible. These were all handheld, so there is a little loss of focus. Nonetheless, I prefer the HDR image in every case except… so it seems like I need to get better at it!
Workflow improvement starts in the camera. The Nikon D300 has bracketing and a settable function button, and with a tiny bit more research and practice I effectively apply them for HDR. Custom setting f4 Assign Func. button allows me to access custom setting e5 Auto Bracketing Set with a single button press, to control it with the thumb and finger wheels, and to view the settings on the LCD, all without having to delve into menus. With the drive mode set to CH, holding the shutter release button down takes the entire bracketed series in a second or so. Suddenly it’s very easy to record five times as many images!
Next I use the new color label in version 5 of ACDSee Pro to group each HDR series while doing my initial rating pass (using StrokeIt as I’ll detail in a separate post). So, glancing at the thumbnails, five red or blue or yellow labels begin to look like one photo to be processed.
The luxury of two screens, my Lenovo SL500 laptop and an external 20” Viewsonic VX2035wm display, makes it simple to simply highlight an HDR series by color and drag them onto the Photomatix Loading Bracketed Photos panel. If there happened to be something moving between shots, I circle the ghosted area with the mouse, and click OK. Photomatix offers numerous sliders to adjust the output, but, fortunately, for now I can rely on the presets that are presented as thumbnails. So, again, one click on the chosen look and another on the Process button produces a tonemapped composite. For now, I am choosing a natural look from Photomatix, most frequently the Compressor – Deep preset. I’ve set the preferences for File>Save Image to use the first filename of the series and a suffix of “_HDR” and save as a JPG.
Back in ACDSee, I hit F5 to show the new file among its series, set it’s label color to match, and it is ready to be processed like any other single image. I’m enduring double processing as I learn, because I develop both the tonemapped image and the best single shot from the series so that I can compare the results. As I get more experience and confidence, I’m sure that I’ll cut that in half because the HDR photos have been consistently better. The one exception I’ve found is that if there is any movement that causes softness in the HDR, I will probably revert to the best of the single shots.
The next big workflow savings comes from the realization that I do not have to keep everything I shoot! I could argue that I might someday refine my technique or get a better HDR processing program and want to try again. But, instead, I’m taking the view that I’d rather apply such advances to the images I make tomorrow. Therefore, I choose to delete – yes delete! – the original three or five or seven shots and keep just the processed version. (Under the covers, ACDSee Pro also keeps the original tonemapped copy before processing). Voila! With this one simplification, I’ve reduced the “clutter factor” and the load per HDR image on my hard drive by 85%. Some purists will argue that I’m robbing myself of future development possibilities, but I see it as freeing myself for future shooting opportunities.
I am still in need of a better method to copy metadata such as location, headline and camera parameters into the new image. It would be best if Photomatix did it, but that seems not to be the case with my simplified workflow. (The article HDR Image Editing at what appears to be an interesting site called dpBestFlow.org seems to confirm this, and hints at more good stuff to read in the future! ![]() ) Neither does ACDSee Pro seem to handle it, so I tried GeoSetter which in turn led me to ExifTool. It’s a complicated world, but seems workable. More to come on this.
) Neither does ACDSee Pro seem to handle it, so I tried GeoSetter which in turn led me to ExifTool. It’s a complicated world, but seems workable. More to come on this.
Bottom line, so far, is that, although the post-processing time is still killing me, I’m getting some better images with HDR. So, I’m willing to work my way a bit further through the learning curve. Like so many other things, it will take some patience and practice to get a handle on the basic processes, after which I look forward to exploring the more creative possibilities.